Growing mushrooms at home is easier than you think. While your neighbors struggle with finicky tomato plants and battle unpredictable weather, you could be harvesting fresh oyster mushrooms from your kitchen counter in just two weeks. This comprehensive guide shows you exactly how to grow mushrooms using proven methods that work for complete beginners.
Whether you’re interested in the meaty texture of shiitake, the brain-boosting benefits of lion’s mane, or the versatility of oyster mushrooms, you’ll discover that mushroom cultivation requires less space than a houseplant and produces food year-round. No green thumb required—just a willingness to learn something new.
Quick Start: The Easiest Way to Grow Mushrooms
For absolute beginners, mushroom growing kits offer the fastest path to success. These pre-made kits contain everything needed: sterilized substrate, mushroom spawn, and simple instructions. Within 7-14 days, you’ll harvest your first crop without any special equipment or prior experience.
Here’s how simple it is:
- Open your kit and mist with water
- Place in indirect light at room temperature
- Mist twice daily to maintain humidity
- Harvest mushrooms when caps fully develop
- Soak the block and repeat for multiple flushes
Growing kits work because professionals have already completed the technical steps. They’ve sterilized the growing medium, added the correct nutrition, and inoculated it with healthy mushroom spawn. Your only job is maintaining proper moisture and temperature.
Understanding How Mushrooms Grow: The Fascinating Science

Before diving into cultivation methods, understanding basic mushroom biology helps ensure success. Unlike plants that need sunlight for photosynthesis, mushrooms are fungi that break down organic matter for energy. This fundamental difference explains why learning how to grow mushrooms differs completely from traditional gardening.
Mushrooms begin life as microscopic spores—nature’s equivalent of seeds. When examining mushroom spores under a microscope for educational and taxonomic research, you’ll observe fascinating structures that vary dramatically between species. These spores, when they land on suitable substrate in nature, germinate into thread-like structures called hyphae.
The hyphae grow and branch, forming a network called mycelium—often compared to the internet of the forest. This white, web-like organism is the actual “body” of the fungus. What we call mushrooms are merely the fruiting bodies, similar to apples on a tree. The mycelium produces mushrooms when environmental conditions trigger reproduction.
Modern cultivation often bypasses the spore stage entirely, using liquid culture techniques where live mycelium is suspended in nutrient-rich solution. This advanced method allows faster colonization of substrates and more predictable results, though it requires careful sterile technique.
Choosing Your Mushroom Variety: Start with These Winners
Success in learning how to grow mushrooms starts with selecting the right species. Based on ease of cultivation, growth speed, and culinary value, these four varieties excel for home growers:
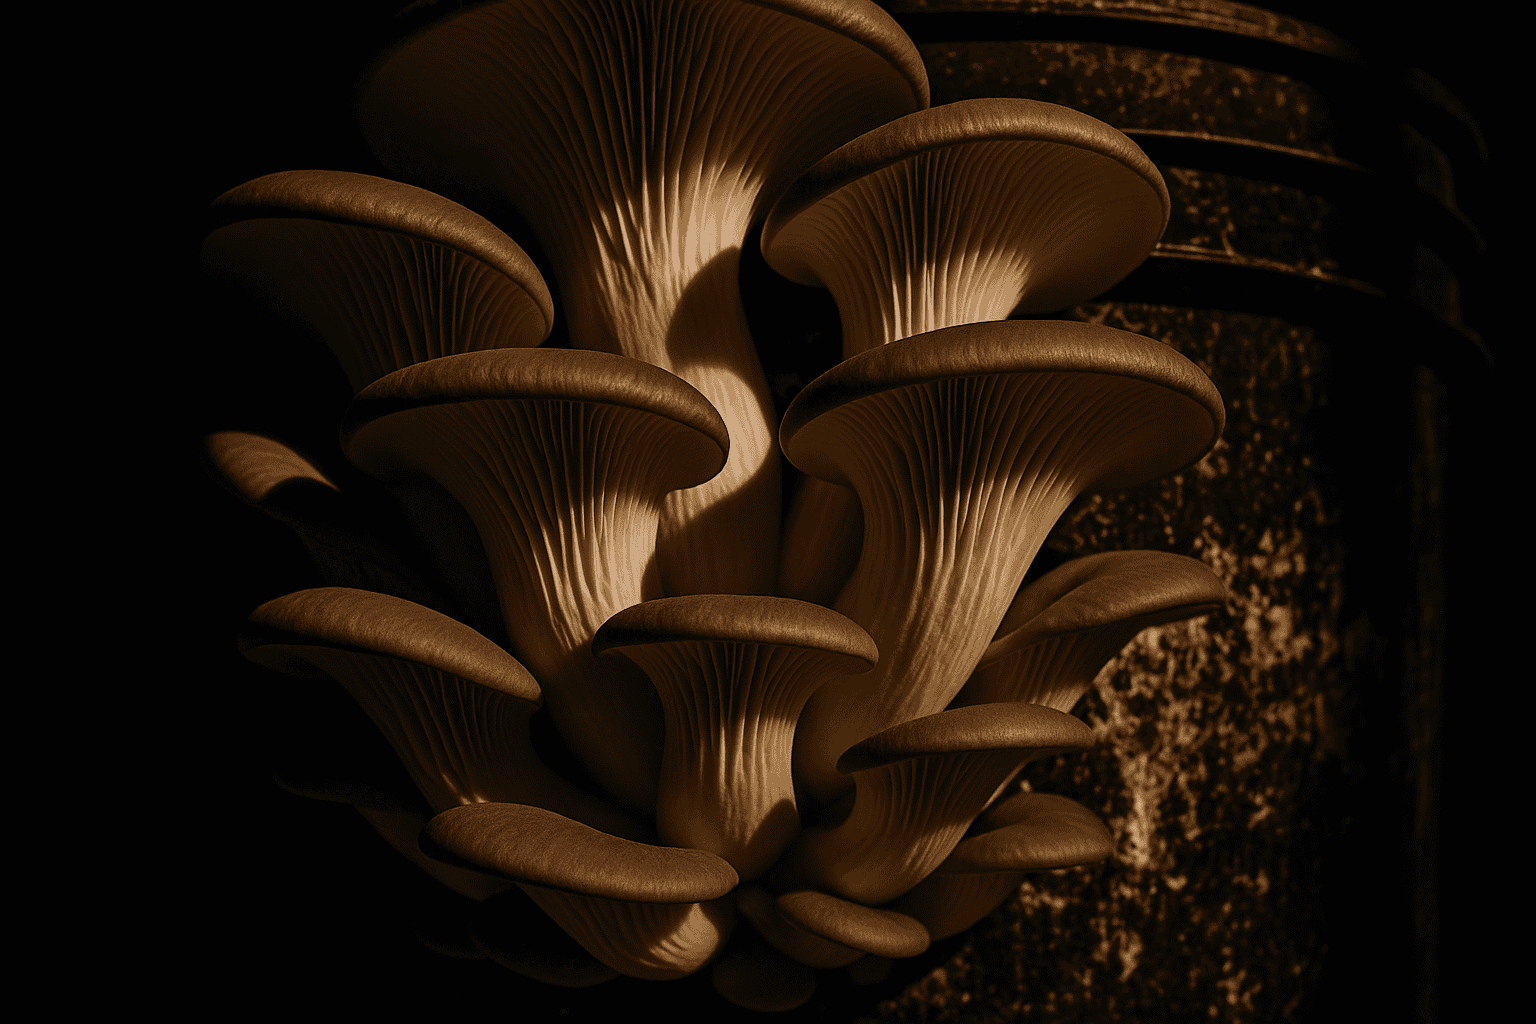
Oyster Mushrooms (Pleurotus species)
- Difficulty: Easiest for beginners
- Time to harvest: 7-14 days from pinning
- Growing temperature: 55-75°F (13-24°C)
- Substrates: Straw, coffee grounds, cardboard, hardwood
Oyster mushrooms forgive beginner mistakes better than any other variety. Their aggressive mycelium outcompetes many contaminants, and they’ll fruit in less-than-perfect conditions. Available in stunning colors—pink, yellow, blue, and classic grey—they add visual interest to your growing space.
Shiitake (Lentinula edodes)
- Difficulty: Intermediate
- Time to harvest: 6-12 months on logs, 2-3 months on blocks
- Growing temperature: 55-70°F (13-21°C)
- Substrates: Oak, maple, or supplemented hardwood sawdust
Prized for umami-rich flavor and medicinal properties, shiitake mushrooms reward patient growers. While they take longer than oysters, homegrown shiitakes surpass store-bought versions in both taste and texture. According to Penn State Extension’s mushroom research, shiitake contains all eight essential amino acids and numerous bioactive compounds.
Lion’s Mane (Hericium erinaceus)
- Difficulty: Moderate
- Time to harvest: 3-4 weeks from inoculation
- Growing temperature: 65-75°F (18-24°C)
- Substrates: Supplemented hardwood sawdust
This unique mushroom looks like a white waterfall and tastes remarkably like seafood. Recent research suggests lion’s mane supports cognitive function and nerve health. Its distinctive appearance makes it impossible to confuse with any other species—a bonus for nervous beginners.
Wine Cap (Stropharia rugosoannulata)
- Difficulty: Easy for outdoor growing
- Time to harvest: 4-6 months
- Growing temperature: 55-70°F (13-21°C)
- Substrates: Wood chips, straw, compost
Perfect for gardeners learning how to grow mushrooms outdoors, wine caps thrive in garden beds while improving soil health. They’re particularly suited to permaculture systems and can produce for multiple years from a single inoculation.
Four Proven Methods: How to Grow Mushrooms Successfully
Method 1: Growing Kits (Best for Beginners)
Mushroom growing kits eliminate guesswork and technical challenges. Quality suppliers provide fully colonized blocks ready to fruit, requiring only basic care to produce multiple harvests.
What you’ll need:
- Mushroom growing kit
- Spray bottle for misting
- Plastic tent or clear storage tote (optional)
- Indirect light source
Step-by-step process:
- Remove kit from packaging and place in humidity tent
- Cut slits in the plastic bag according to instructions
- Mist the exposed areas 2-3 times daily
- Maintain temperature between 60-75°F
- Harvest when mushroom caps flatten out
- Soak block overnight and repeat for additional flushes
Most kits produce 2-4 flushes over 2-3 months, yielding 1-2 pounds total. While more expensive per pound than other methods, kits provide valuable learning experience with minimal risk.
Method 2: Bucket Method (Great for Oyster Mushrooms)
The bucket method offers an affordable way to grow larger quantities while learning how to grow mushrooms on pasteurized straw.
What you’ll need:
- 5-gallon bucket with lid
- Drill with 1/4″ bit
- Wheat or oat straw
- Oyster mushroom spawn
- Large pot for pasteurization
Detailed process:
- Drill holes every 4 inches around bucket sides
- Chop straw into 2-4 inch pieces
- Pasteurize straw in 160°F water for 1 hour
- Drain and cool to room temperature
- Layer straw and spawn in bucket (4:1 ratio)
- Cover with lid and store in dark area for 2 weeks
- Move to fruiting area when white mycelium visible
- Mist daily and harvest in 7-10 days
Each bucket can produce 3-5 pounds of mushrooms across multiple flushes. North American Mycological Association research shows this method succeeds even in variable home environments.
Method 3: Monotub Technique (Maximum Yields)
For serious production, the monotub method delivers commercial-quality results in a home setting. This technique excels for those learning how to grow mushrooms in larger quantities.
Essential supplies:
- 54-66 quart clear storage tote
- Polyfill or micropore tape
- Colonized grain spawn (3-5 pounds)
- Bulk substrate (coco coir/vermiculite mix)
- Spray bottle and hygrometer
Complete setup instructions:
- Drill 2-inch holes: 6 along long sides, 3 on short sides (2 inches from substrate level)
- Stuff holes with polyfill for air exchange
- Mix hydrated substrate to field capacity (squeeze test: few drops)
- Layer substrate and break up grain spawn evenly
- Mix thoroughly to 3-4 inch depth
- Cover with lid and store at 75-80°F
- Begin fanning and misting when pins form (10-14 days)
- Harvest before spore release
Monotubs routinely produce 2-5 pounds per flush with proper management. Advanced growers using liquid culture report even faster colonization times and higher yields.
Method 4: Log Cultivation (Long-term Production)
Log cultivation mimics nature’s method for growing mushrooms, particularly shiitake and oyster varieties. Though slower to establish, logs produce for 4-8 years.
Materials needed:
- Fresh hardwood logs (4-8 inches diameter, 3-4 feet long)
- Mushroom plug spawn or sawdust spawn
- Drill with 5/16″ bit
- Food-grade wax
- Hammer or inoculation tool
Inoculation process:
- Cut logs 2 weeks to 2 months before use (optimal moisture)
- Drill holes 4 inches apart in diamond pattern
- Insert plug spawn or pack with sawdust spawn
- Seal holes with melted wax
- Stack logs in shaded area
- Maintain moisture through soaking or sprinklers
- Force fruiting by cold water shocking after 6-12 months
According to Cornell University’s mushroom program, properly managed logs yield 1-2 pounds per log annually for nearly a decade.
Creating Ideal Growing Conditions
Success in learning how to grow mushrooms depends heavily on environmental control. Unlike plants, mushrooms have specific requirements that seem counterintuitive to traditional gardeners.
Temperature Requirements
Most gourmet mushrooms fruit between 55-75°F (13-24°C). Oyster mushrooms tolerate the widest range, while shiitake prefers cooler conditions. Maintaining stable temperatures prevents stress that leads to poor yields or contamination.
Humidity Management
Mushrooms require 80-95% humidity during fruiting. This high moisture level challenges home growers but several solutions exist:
- Humidity tents from clear plastic
- Ultrasonic humidifiers on timers
- Manual misting 2-4 times daily
- Perlite trays for passive humidification
Fresh Air Exchange
Despite loving humidity, mushrooms need oxygen and release CO2. Poor air exchange causes long stems and small caps. Fan your growing area 2-3 times daily or install small computer fans on timers.
Lighting Needs
Mushrooms don’t photosynthesize but use light as a directional cue. Provide 12 hours of indirect light daily—a north-facing window or simple LED works perfectly. Avoid direct sunlight which dries substrates and overheats growing areas.
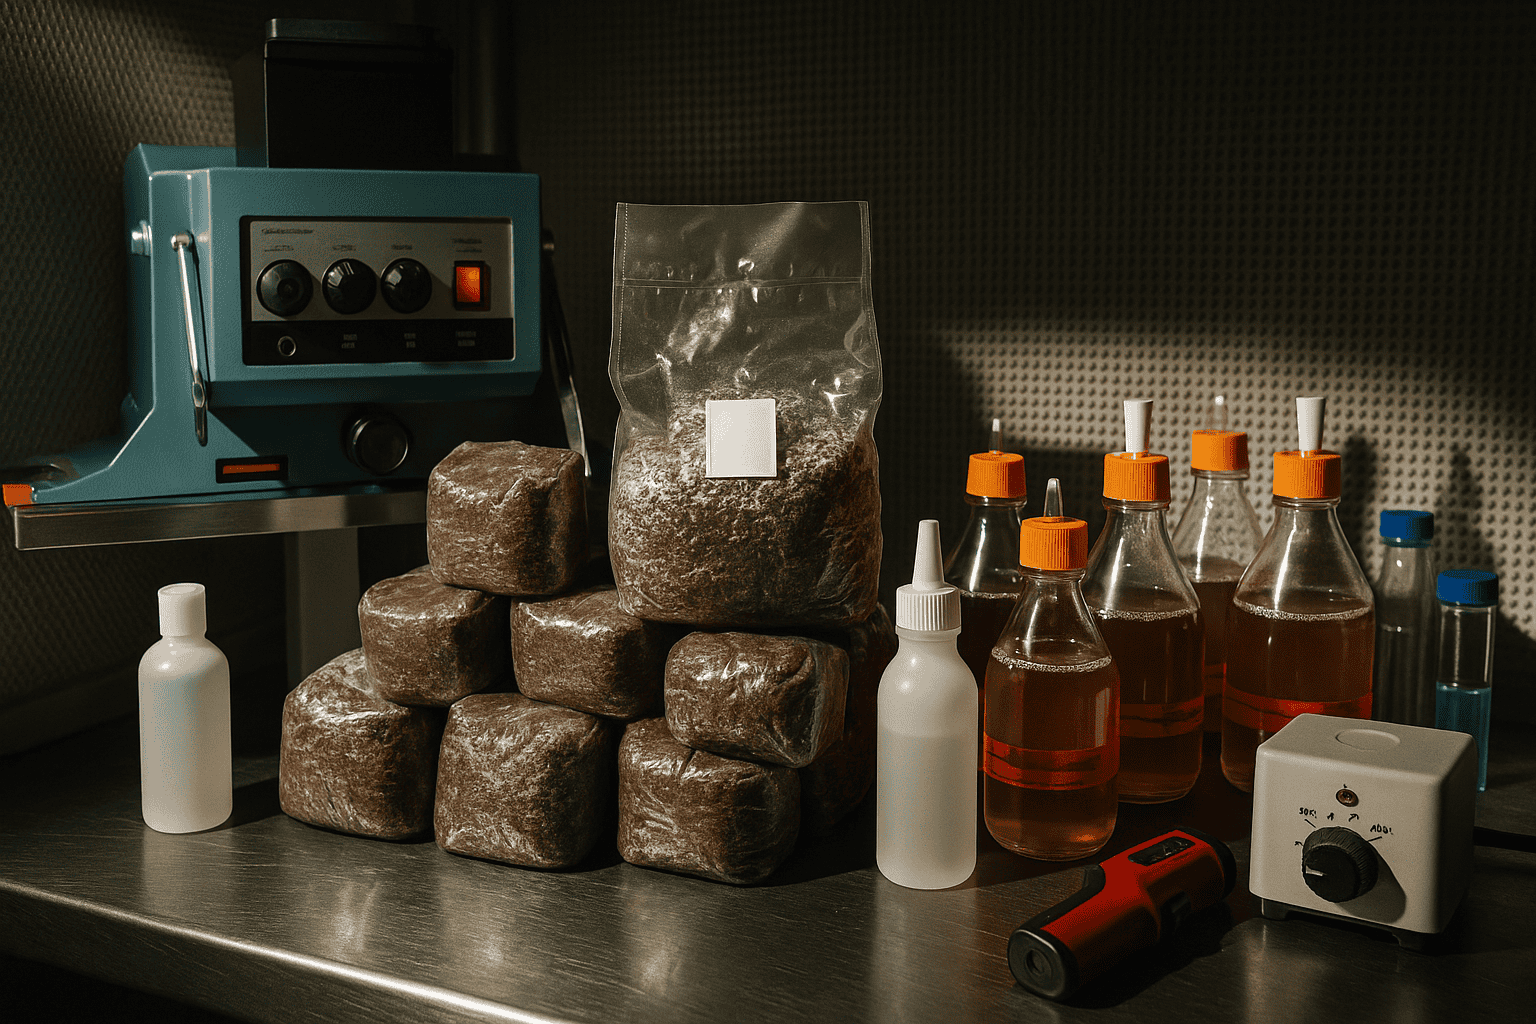
Advanced Techniques: Liquid Culture and Sterile Work
As you progress in learning how to grow mushrooms, advanced techniques improve yields and success rates. Liquid culture represents a significant advancement over traditional spore-based methods.

Understanding Liquid Culture
Liquid culture contains live mycelium suspended in nutrient-rich water. This technique offers several advantages:
- 10x faster colonization than spores
- Genetic consistency across grows
- Easy storage and expansion
- Visual confirmation of culture health
Professional cultivators prefer liquid culture for its reliability and speed. When properly prepared, liquid cultures colonize substrates in days rather than weeks.
Sterile Technique Fundamentals
Contamination remains the primary challenge when learning how to grow mushrooms. Developing proper sterile technique prevents costly failures:
- Work area preparation: Clean surfaces with 70% isopropyl alcohol
- Still air box: Reduces airborne contaminants by 99%
- Flame sterilization: Pass tools through flame until red-hot
- Minimal air movement: Work slowly and deliberately
- Pressure cooking: Sterilize substrates at 15 PSI for 90 minutes
Research from mushroom cultivation experts confirms that attention to sterility dramatically improves success rates.
Troubleshooting Common Problems
Even experienced growers encounter challenges. Understanding common issues helps diagnose problems early when learning how to grow mushrooms effectively.
Contamination Identification
- Green mold (Trichoderma): Most common contaminant, spreads rapidly
- Black mold (Aspergillus): Dangerous to health, discard immediately
- Orange/pink (Neurospora): Extremely aggressive, isolate affected grows
- Bacterial blotch: Slimy, smelly patches on mushrooms
Prevention beats treatment—contaminated substrates rarely recover. Focus efforts on improving sterile technique rather than saving compromised grows.
Growth Problems and Solutions
Slow or stalled colonization:
- Check temperature (too cold slows growth)
- Verify moisture content (dry substrates stall)
- Assess spawn quality (old spawn loses vigor)
Long, thin mushrooms (stretching):
- Increase fresh air exchange
- Provide more light
- Reduce CO2 accumulation
Pins forming but aborting:
- Maintain consistent humidity
- Avoid direct misting on pins
- Check for bacterial contamination
Overlay (thick mycelium mat):
- Too much CO2 or humidity
- Scratch surface lightly with sterile fork
- Increase air exchange immediately
Harvesting, Storage, and Using Your Mushrooms
Timing your harvest correctly maximizes both yield and quality. Most mushrooms reach peak condition just before or as the caps begin to flatten.
Harvest Guidelines
- Oyster mushrooms: When cap edges begin to flatten and turn upward
- Shiitake: As caps open but before edges curl up
- Lion’s mane: While still pure white, before yellowing
- Wine cap: When caps are fully expanded but before spore release
Use a sharp, clean knife to cut clusters at the base, or twist and pull gently. Remove all mushroom tissue to prevent rot that attracts contaminants.
Storage Methods
Fresh storage: Store unwashed mushrooms in paper bags in the refrigerator for 7-10 days. Plastic bags trap moisture and accelerate spoilage.
Drying: Use a food dehydrator at 115-125°F until cracker-dry. Properly dried mushrooms store for years in airtight containers with desiccant packets.
Freezing: Sauté mushrooms first in butter or oil, then freeze in portion-sized containers. Raw mushrooms become mushy when frozen.
Maximizing Your Harvest
Don’t discard spent substrates! Bury exhausted blocks in shaded garden areas where they often produce additional flushes. Wine cap mushrooms particularly excel at colonizing wood chip beds from spent indoor grows.
Spent substrate also creates exceptional compost. The mycelium-enriched material provides slow-release nutrients and improves soil structure. Your garden will thrive with this “black gold” amendment.
The Future of Home Mushroom Cultivation
The mushroom cultivation industry is experiencing unprecedented growth. According to market research data, the global mushroom market is projected to reach $139.26 billion by 2032, driven by health consciousness and sustainable food interest.
Home cultivation technology continues advancing with automated systems, IoT monitoring, and improved genetic varieties. What once required commercial facilities now fits on a kitchen counter. As more people discover how to grow mushrooms successfully, we’re witnessing a quiet revolution in food production.
Your Next Steps in Mushroom Growing
You now have comprehensive knowledge for beginning your mushroom cultivation journey. Start with a simple oyster mushroom kit to build confidence, then experiment with bucket grows or monotubs as skills develop. Remember that every expert grower started with their first uncertain attempt.
The path to mastering how to grow mushrooms rewards patience and observation. Each grow teaches valuable lessons, and failures provide learning opportunities. Within months, you’ll produce mushrooms that surpass grocery store quality while developing a deeper connection to your food.
For those interested in the scientific aspects, examining mushroom spores under microscopy reveals nature’s incredible diversity and complexity. This educational pursuit complements practical cultivation while respecting legal boundaries and focusing on gourmet varieties.
Join millions discovering that learning how to grow mushrooms offers food security, potential income, and profound satisfaction. Whether you’re motivated by superior flavor, sustainability, or simple curiosity, mushroom cultivation provides endless opportunities for growth—both for you and your fungi.
Key Takeaways
- Start with oyster mushroom kits for guaranteed success
- Maintain 80-95% humidity and proper air exchange
- Choose growing methods based on space and experience level
- Expect 2-4 harvests from most growing systems
- Use spent substrate to enrich garden beds
- Advanced techniques like liquid culture improve yields
- Focus on gourmet varieties: oyster, shiitake, lion’s mane, and wine cap
- Sterile technique prevents most common failures
- Fresh mushrooms store 7-10 days; dried last years
- Home cultivation provides superior quality and sustainability
Ready to begin? Visit our blog for species-specific instructions, or explore Penn State Extension’s mushroom resources for research-based cultivation information. Your journey into the fascinating world of mushroom cultivation starts with that first inoculation. Happy growing!