You’ve got your first psilocybin spore syringe sitting in your fridge, and you’re wondering what exactly you should be looking for under a microscope. Maybe you’ve seen incredible microscope photography online and want to explore the fascinating world of fungal taxonomy yourself. Or perhaps you’re building a research collection and need to understand the morphological differences between strains.
Psilocybin spore microscopy opens a window into one of nature’s most remarkable reproductive systems. Under proper magnification, these tiny structures reveal beautiful purple-brown coloration, distinctive shapes, and unique characteristics that vary between different Psilocybe cubensis varieties. The best part? Examining spores under a microscope is completely legal in 47 states, making it an accessible entry point into serious mycological study.
This guide covers everything you need to know about examining psilocybin spores scientifically—from selecting the right equipment to identifying strain-specific characteristics and documenting your observations like a professional researcher.

What Are Psilocybin Spores?
Psilocybin spores are the microscopic reproductive units of psilocybin-producing mushrooms, most commonly from the Psilocybe cubensis species. Think of spores as fungal seeds—each one carries the complete genetic blueprint for an entire organism, packed into a structure measuring just 11.5-17 micrometers in length.
Here’s the critical distinction that makes microscopy research legal: spores themselves contain zero psilocybin or psilocin. According to research from Kenyon College’s MicrobeWiki, dormant basidiospores contain clearly defined nuclear pores, mitochondria, lipid bodies, and ribosomes—but the psychoactive compounds only develop after germination when mycelium matures into fruiting bodies.
Spore Biology and Structure
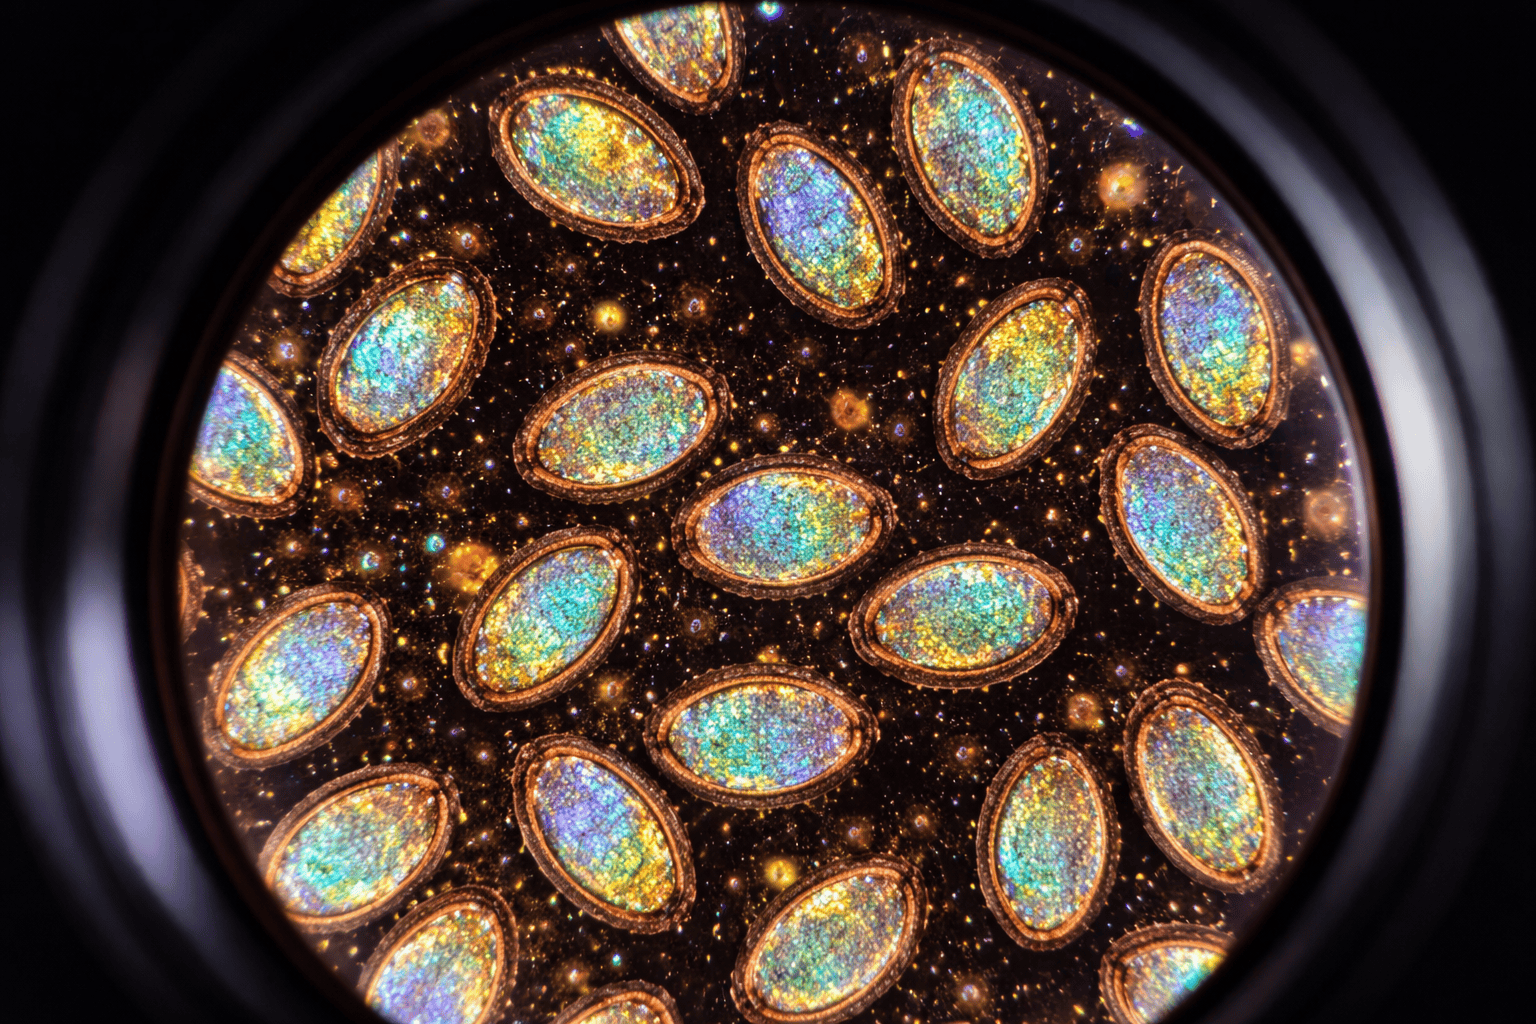
Under light microscopy, Psilocybe cubensis spores display a non-angular, subellipsoid shape with two detectable wall layers. The thick cell walls that give spores their remarkable longevity also make them excellent subjects for microscopy—they hold their shape well under magnification and resist damage from slide preparation.
The purple-brown pigmentation comes from melanin deposited in the spore walls. This natural coloring varies between strains, providing one of the key identification markers for taxonomic research. Some varieties produce darker, nearly black spores, while others lean toward lighter purple hues.
Why Microscopy Matters for Research
Professional mycologists emphasize that accurate identification requires microscopic examination. Research published in Applied and Environmental Microbiology found that close to 13% of Psilocybe specimens in fungaria were actually misidentified at the genus level—highlighting why visual observation under magnification beats casual identification every time.
For hobbyist researchers, microscopy provides direct quality verification of spore syringes and prints. You can assess spore density, check for contamination, and compare morphological characteristics between different strains in your collection.
Essential Microscopy Equipment
Getting started with spore microscopy doesn’t require a professional laboratory. However, the right equipment makes the difference between frustrating blurry images and genuinely useful scientific observation.
Microscope Requirements
According to established microscopy guides from MushroomExpert.com, effective spore examination requires a compound microscope capable of 400x-1000x magnification. The minimum useful setup includes:
A compound microscope with 10x eyepieces and 40x objective lens delivers 400x total magnification—adequate for basic spore observation and measurement. For detailed wall structure analysis and precise identification, you’ll want oil immersion capability reaching 1000x magnification.
Budget-friendly options in the $150-300 range work perfectly for beginning researchers. Look for LED illumination, which provides consistent lighting without the heat of halogen bulbs that can affect your specimens.
Slide Preparation Supplies
Quality slide preparation determines your observation success. Essential supplies include:
Glass slides work better than plastic for image clarity and durability. Standard 25x75mm slides are industry standard. Coverslips in 18x18mm or 22x22mm sizes protect your specimens and create the thin layer needed for proper focusing.
For enhanced visibility, chemical reagents help. A 2% aqueous KOH solution improves contrast, while Phloxine stain can highlight cellular structures. Most beginning researchers find plain water mounts sufficient for general observation.

Documentation Tools
Scientific observation without documentation is just entertainment. Basic documentation requires:
A smartphone adapter ($20-50) lets you photograph what you see through the eyepiece. More serious researchers invest in dedicated microscope cameras that capture high-resolution images directly.
Keep a research notebook for recording strain names, dates, magnification levels, and morphological observations. This creates a reference library for comparing future specimens.
Preparing Spores for Viewing
Proper slide preparation ensures you see clear, countable spores rather than smeared clumps or contaminated samples.
From Spore Syringes
Working with spore syringes offers the easiest preparation method. Shake the syringe gently to distribute spores evenly, then dispense a single small drop onto a clean glass slide. Apply the coverslip at a 45-degree angle, letting it slowly lower to prevent air bubbles.
The liquid suspension naturally spreads beneath the coverslip, creating an ideal thin layer for observation. If spores appear too concentrated and clumped together, dilute your sample with a drop of sterile water before preparing a fresh slide.
From Spore Prints
Spore prints require rehydration before viewing. Use a sterile blade to scrape a small amount of spore material onto your slide, then add a drop of water or KOH solution and apply the coverslip.
Prints often yield higher spore concentrations than syringes, which can cause clumping issues. Work with smaller amounts initially and adjust based on what you observe.
Achieving Optimal Focus
Start at low magnification (40x or 100x) to locate your spores across the slide. Once you’ve found a good field of view with multiple well-separated spores, increase magnification progressively. At 400x, you’ll see clear shapes and coloration. At 1000x with oil immersion, wall structure details become visible.
Patience matters here. Focus carefully at each magnification level, using fine focus adjustment for the clearest possible image before documenting.

Spore Morphology: What to Look For
Understanding what healthy, viable spores look like helps you assess specimen quality and identify potential contamination issues.
Size and Shape Characteristics
Psilocybe cubensis spores typically measure 11.5-17 micrometers in length and 8-11.5 micrometers in width. The shape is described as subellipsoid—slightly elongated and oval, like a compressed football. According to educational laboratory guides from Maricopa Community College, measuring 10-20 individual spores and recording both dimensions provides reliable data.
Each spore features a distinct germ pore at one end—a small, slightly lighter area where germination would begin if conditions were right. The germ pore provides an important orientation reference when photographing and measuring spores.
Color and Pigmentation
Fresh, healthy spores display deep purple-brown to nearly black coloration under transmitted light. This pigmentation should appear uniform within each spore, though intensity varies between strains.
Faded coloration often indicates age or improper storage. While slightly lighter spores may still be viable, significant color loss suggests degraded specimens. Very pale or translucent spores have likely lost viability.
Wall Structure
At high magnification (1000x), you can observe the two-layer wall structure characteristic of Psilocybe basidiospores. The outer wall shows the pigmented layer, while the inner wall appears lighter. This thick-walled construction is what allows spores to survive months or years in proper storage.
Surface texture should appear smooth rather than pitted or damaged. Any visible holes, irregular surfaces, or collapsed areas indicate potential degradation or contamination.
Identifying Strain Differences
Different Psilocybe cubensis strains show subtle but observable morphological variations under microscopy—valuable information for researchers comparing genetics across their collection.
Golden Teacher Characteristics
Golden Teacher produces classic cubensis spores with consistent dark purple-brown pigmentation. Size typically falls in the mid-range (12-15 x 8-10 micrometers), and spore production is abundant, making this strain excellent for beginning researchers.
The uniformity of Golden Teacher spores reflects its stable genetics. Expect minimal variation between individual spores in a well-prepared sample.
Penis Envy Variations
Penis Envy strains produce notably fewer spores than typical cubensis varieties, often requiring larger sample volumes for adequate slide preparation. Spores tend toward the smaller end of the size range, with some observations suggesting slightly different shape proportions.
Albino Penis Envy (APE) creates additional identification challenges—the leucistic mutation affects pigmentation, producing lighter, almost translucent spores that require careful lighting adjustment for clear observation.
Comparing Across Your Collection
Building a systematic comparison involves documenting multiple specimens from each strain under identical conditions. Photograph at the same magnification, lighting, and slide preparation method. Over time, you’ll develop an eye for subtle differences that published guides can’t fully capture.
Strain spotlights for varieties like Jedi Mind Fuck and others provide additional context for what to expect from different genetics in your research collection.

Identifying Contamination vs. Healthy Spores
Learning to distinguish contamination from viable specimens protects both your research integrity and helps you evaluate vendor quality.
Signs of Bacterial Contamination
Bacterial contamination in spore syringes appears as cloudiness in the liquid suspension visible before slide preparation. Under magnification, bacteria show as tiny rod-shaped or spherical bodies dramatically smaller than fungal spores. They often display movement (Brownian motion) that spores lack.
Heavily contaminated samples produce a characteristic sour or unpleasant odor when opened. Any sample showing these signs should be discarded rather than used for research.
Fungal Contamination Indicators
Mold contamination shows under microscopy as foreign spore types—typically smaller, differently shaped, or differently colored than Psilocybe spores. You might also observe hyphal fragments (thread-like structures) that shouldn’t appear in properly prepared spore products.
Cross-contamination between strains is harder to detect since you’d be looking at similar spore types mixed together. Careful labeling and clean handling practices prevent this issue.
Quality Assessment Criteria
High-quality specimens show:
- Dense but not overcrowded spore populations
- Uniform coloration across individual spores
- Intact wall structures without visible damage
- Clean liquid suspension (for syringes) without cloudiness
- Absence of foreign particles or organisms
If your purchased specimens consistently show contamination issues, consider evaluating different spore vendors for your research materials.
Documentation and Photography Techniques
Proper documentation transforms casual observation into genuine scientific research.
Recording Your Observations
Professional mycology follows standardized documentation protocols. Record for each observation session:
The strain name, acquisition date, and vendor source. The preparation method (syringe, rehydrated print, etc.). Magnification level used for each observation. Measured spore dimensions (length x width in micrometers) from 10-20 individual spores. Color descriptions using consistent terminology. Any notable characteristics or abnormalities observed.
Express measurement results as ranges (e.g., “12.5-15 x 8-10 um”) rather than averages, which is standard scientific practice.
Photography Best Practices
Smartphone photography through eyepieces works surprisingly well with practice. Align your phone camera directly over the eyepiece, stabilize against the microscope body, and use tap-to-focus on the spores.
For best results, reduce ambient lighting to prevent glare, increase microscope illumination for contrast, and take multiple shots at each focal plane. Post-processing for brightness and contrast is acceptable for clarity, but avoid altering images in ways that misrepresent what you observed.
Include scale bars or micrometer references in published images when possible.
Building Your Research Collection
Systematic collection-building involves documenting multiple strains under identical conditions over time. This creates a personal reference library for future comparison and helps you develop expertise in recognizing strain characteristics.
Store digital images with descriptive file names including strain, date, and magnification (e.g., “golden-teacher-2026-01-10-400x.jpg”). Backup your research records—rebuilding a quality comparison collection takes significant time.

Frequently Asked Questions
Is psilocybin spore microscopy legal?
Yes, in 47 states. Spores contain no psilocybin or psilocin, making them legal for microscopy research. California, Georgia, and Idaho have state laws restricting spore possession regardless of intended use. For detailed legal information, see our complete guide to mushroom spore legality.
What magnification do I need to see psilocybin spores?
400x magnification provides clear views for general observation and measurement. 1000x with oil immersion allows detailed wall structure examination. Starting researchers do fine with 400x capability.
How do I know if my spores are still viable?
Under microscopy, viable spores display uniform dark purple-brown coloration, intact wall structure, and clean cellular appearance. Faded, damaged, or irregularly colored spores may have lost viability. Storage conditions significantly impact longevity—properly refrigerated specimens last 6-12 months or longer.
Can I identify mushroom species from spores alone?
Spore characteristics provide important identification clues, but complete species identification typically requires additional data including cap morphology, gill structure, habitat, and sometimes chemical testing. Microscopy is one tool in comprehensive taxonomy.
What causes cloudy spore syringes?
Cloudiness usually indicates bacterial contamination. Fresh, properly prepared syringes appear relatively clear with visible spore particles suspended in the liquid. Cloudy samples should not be used for research.
Starting Your Microscopy Journey
Psilocybin spore microscopy combines scientific rigor with the genuine wonder of exploring nature at scales invisible to the naked eye. Whether you’re verifying specimen quality, comparing strain genetics, or simply satisfying curiosity about fungal biology, proper technique and equipment make the experience rewarding.
Start with a quality microscope and basic preparation supplies. Practice with beginner-friendly strains like Golden Teacher before moving to more challenging specimens. Document everything, and you’ll build real expertise over time.
The mycological research community values careful observation and systematic documentation. Your microscopy work contributes to broader understanding of fungal diversity—one spore at a time.
All psilocybin mushroom spores are sold exclusively for microscopy, research, and educational purposes. Germination and cultivation of psilocybin mushrooms remains federally illegal under the Controlled Substances Act. Always comply with federal, state, and local laws.